Hey Guys,
I did my Fuel Cubby today and am very pleased with the results.
It was pretty straight forward on installing it. Below is the
photo of the box prior to the installation. |
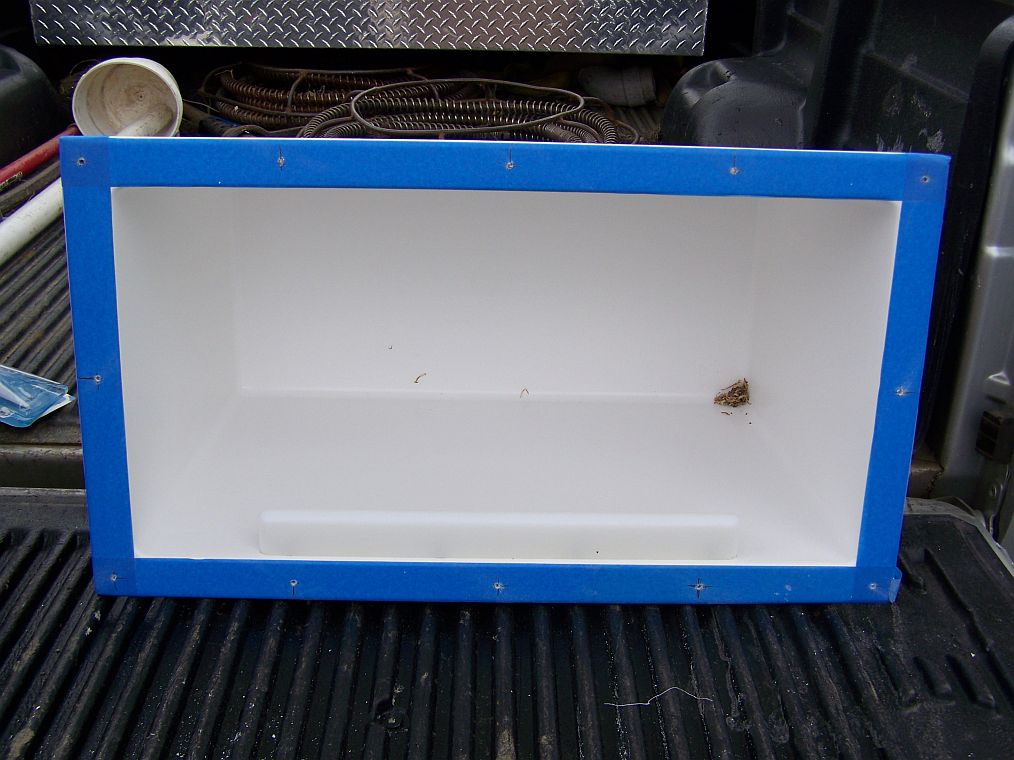 |
| The center of our attention: |
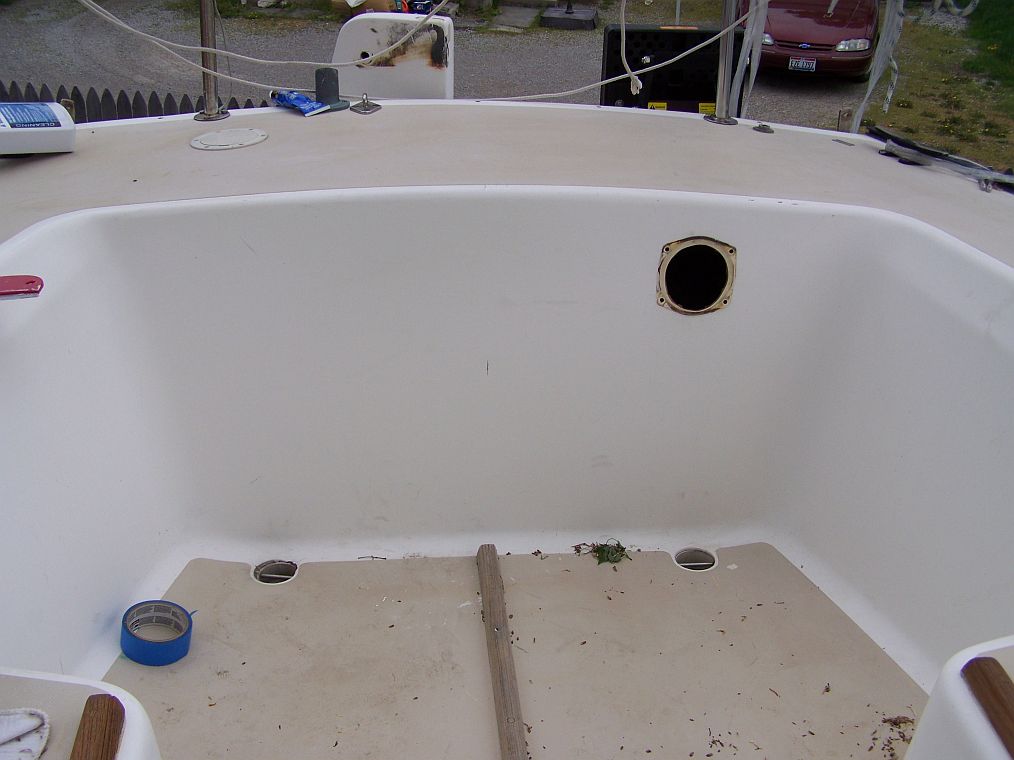 |
Find center, measure for box size and cut out. I drilled my
holes in the box flange with even spacing. I used a 4 ½ side
grinder with a cutting wheel, cutting the hole in the cockpit
wall was fast and easy just need to be careful.
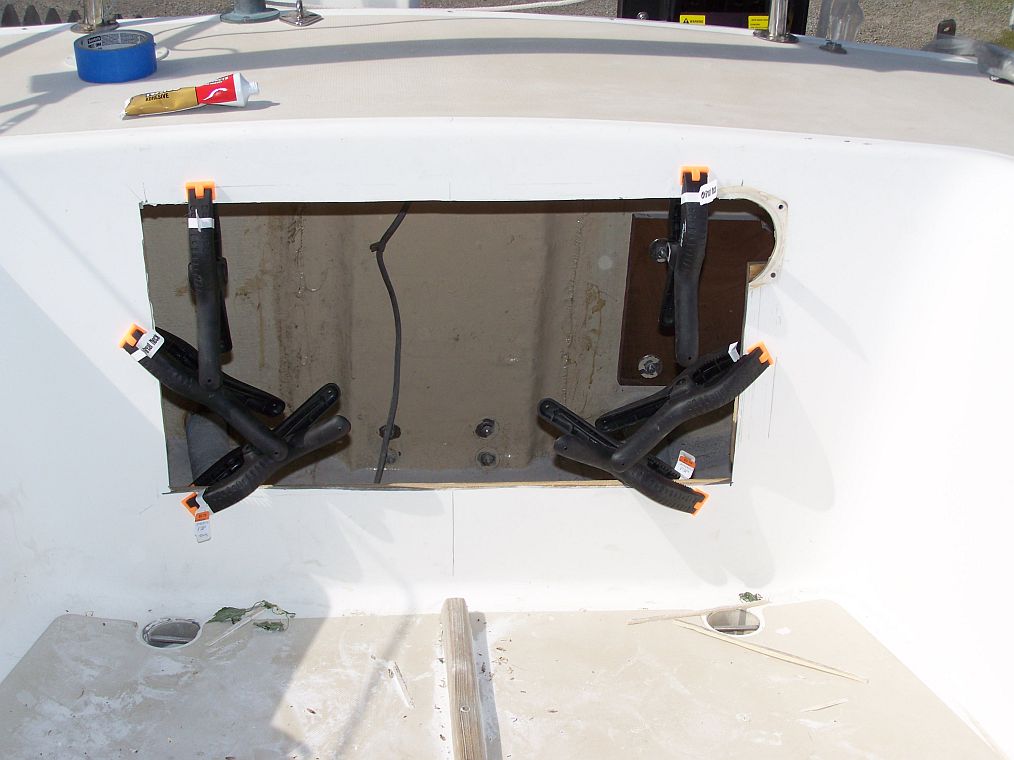
I then took some strips of 3/4" plywood 1 inch wide and 28” for
the top & bottom and 12” for the sides.
I then used
Silicone and clamped them into place for the screw’s to
anchor into. I had looked at some weather stripping for a seal
around the box flange but did not like how much it did not compress.
I was afraid of cracking the flange because of the seal pushing
out. I decided to go with silicone to make the flange water tight
and it worked real well.
The beauty of using the screws and silicone is that it will come
out if ever needed real easy. I did not go overboard on the silicone
just in case it needs to come out. |
 |
Having a 2nd person to actually install the box was a great
help making sure that the wood was in the right place for the
screws to bite into.
I will also be installing a block under
it just for support for when it is full of fuel. |
 |
| And Finally ! |
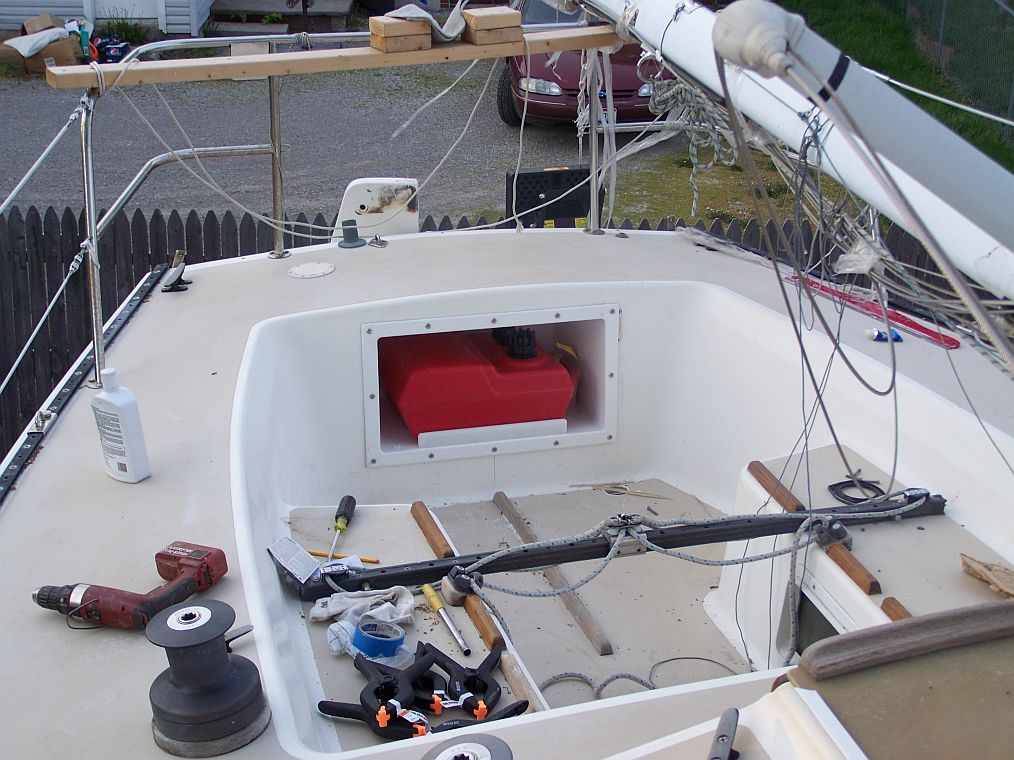 |
Looks pretty good to me, Cliff !
- WebGuy |